How to resize a digital photograph using GraphicConverter software

=== by Bob Sutherland ===

A lesson on how to resize a digital photograph using GraphicConverter by Lemke Software GmbH for Macintosh computers.

GraphicConverter is a photo editing program that you can download and purchase on the Internet from the computer programmer's website. The program is shareware so read the website to determine if you can use the program for free or what license you have to buy.
https://www.lemkesoft.de/en/

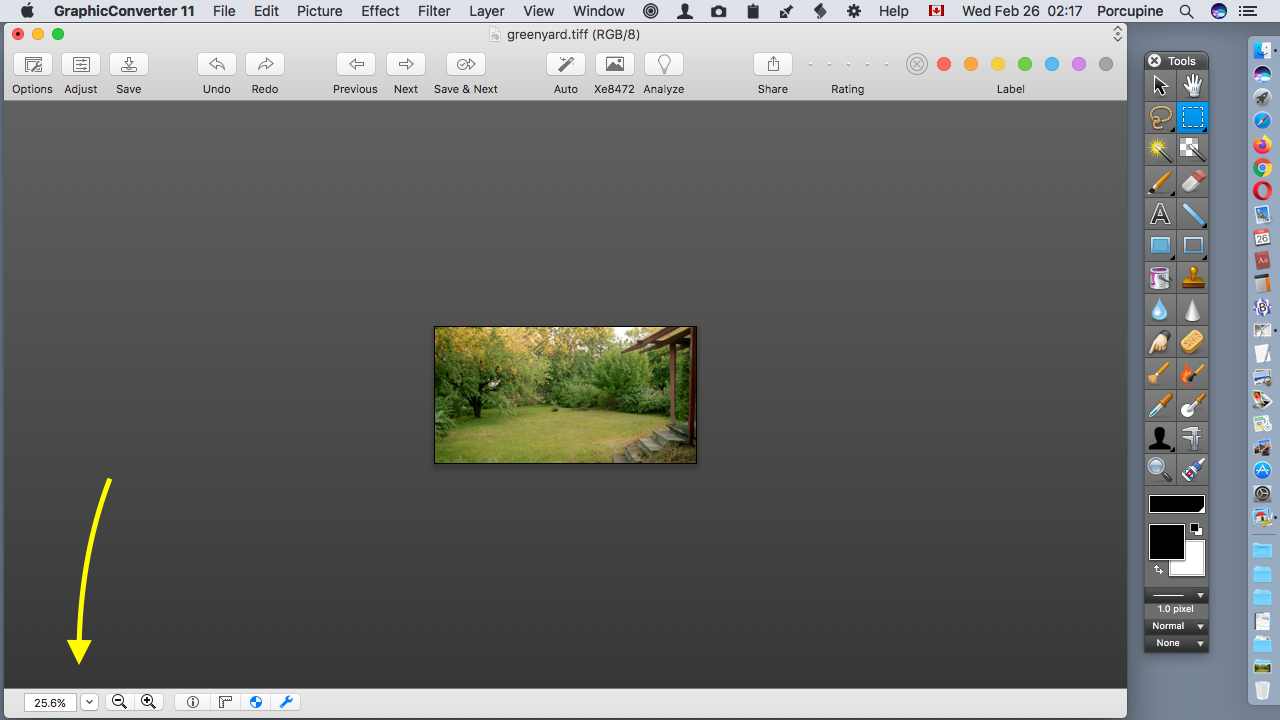
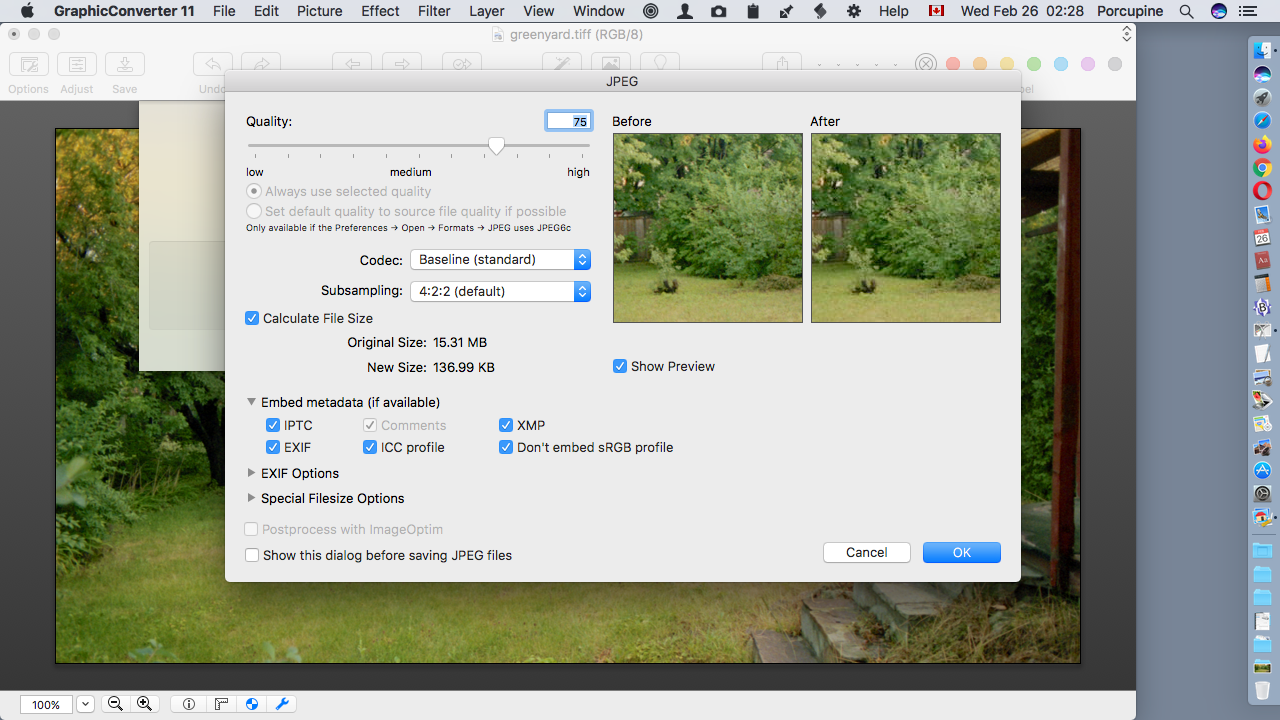
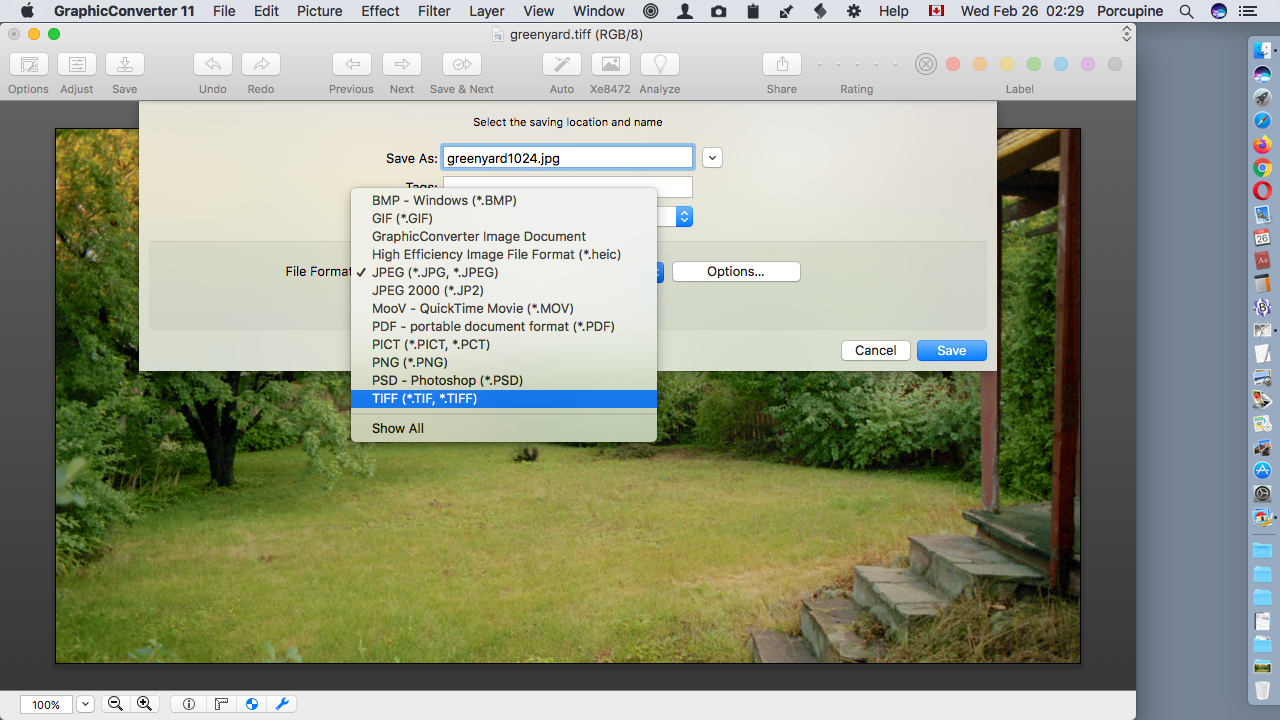
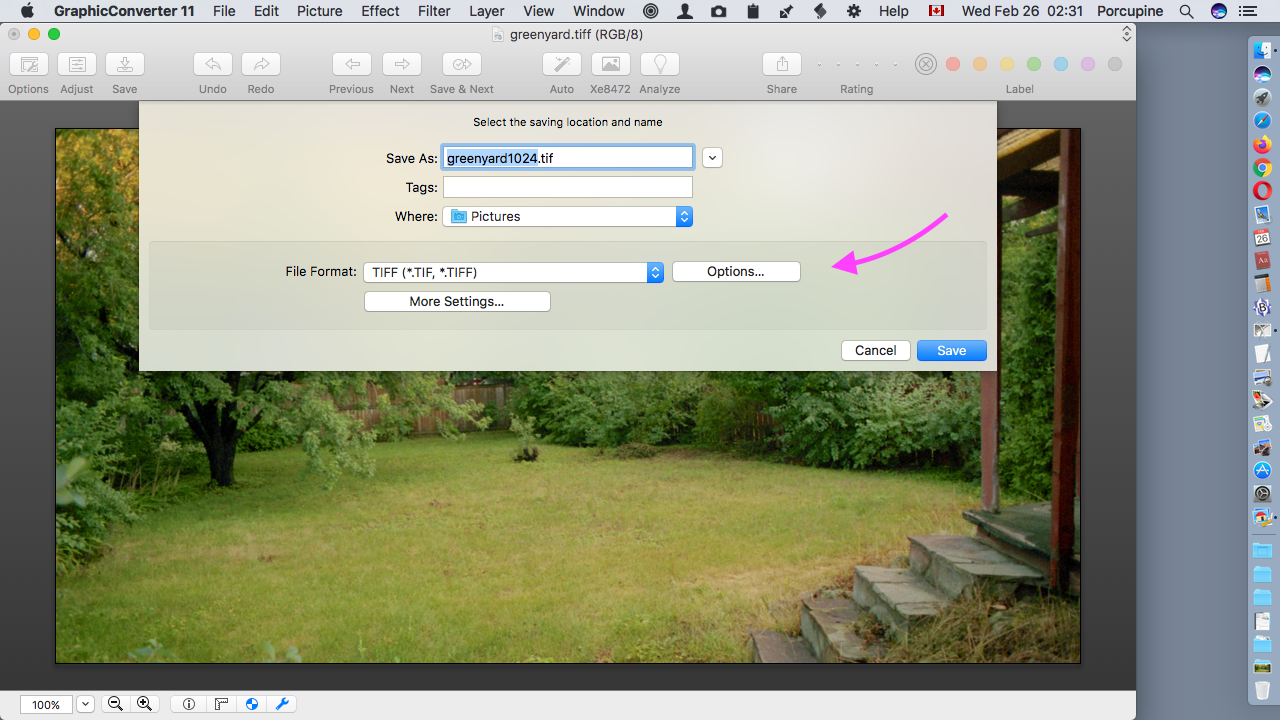
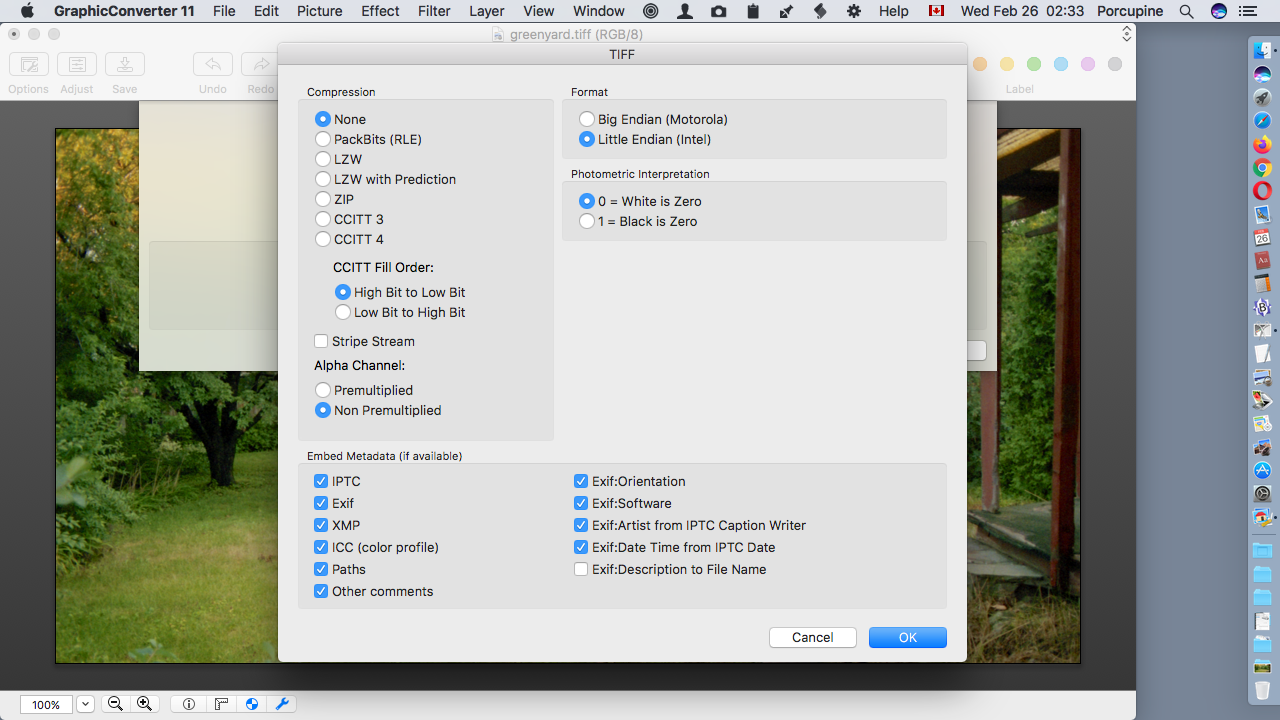
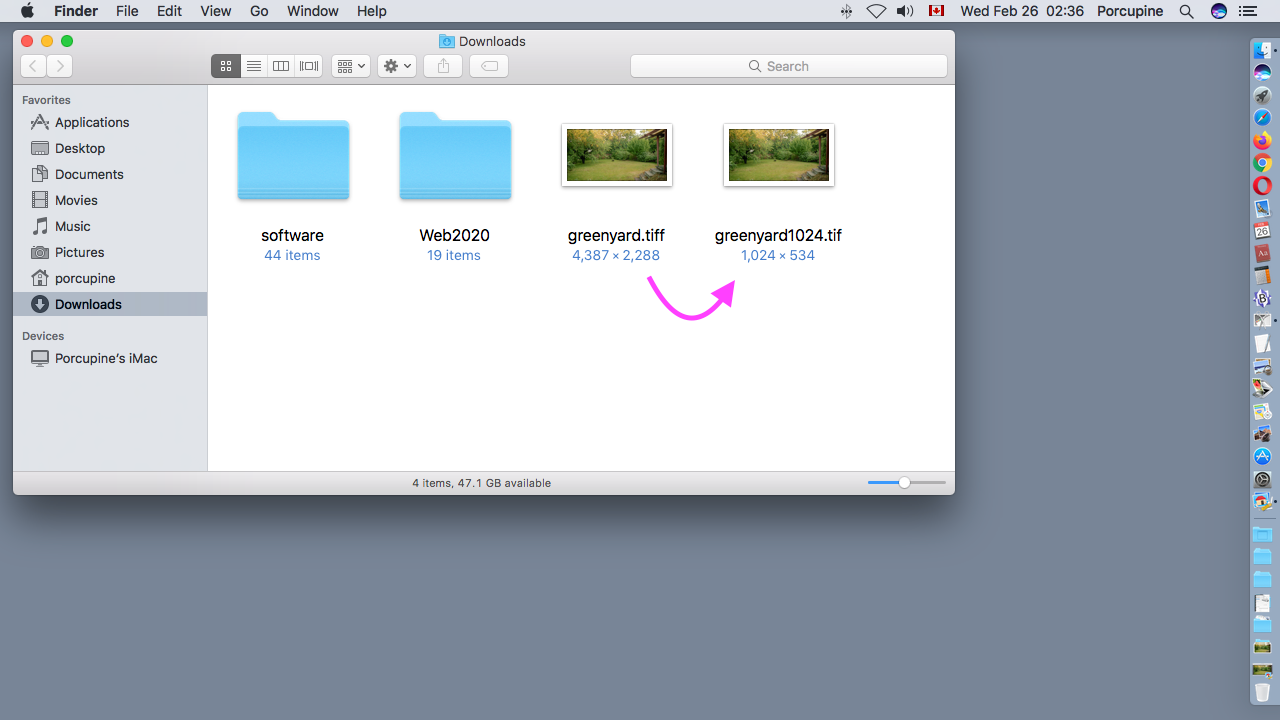
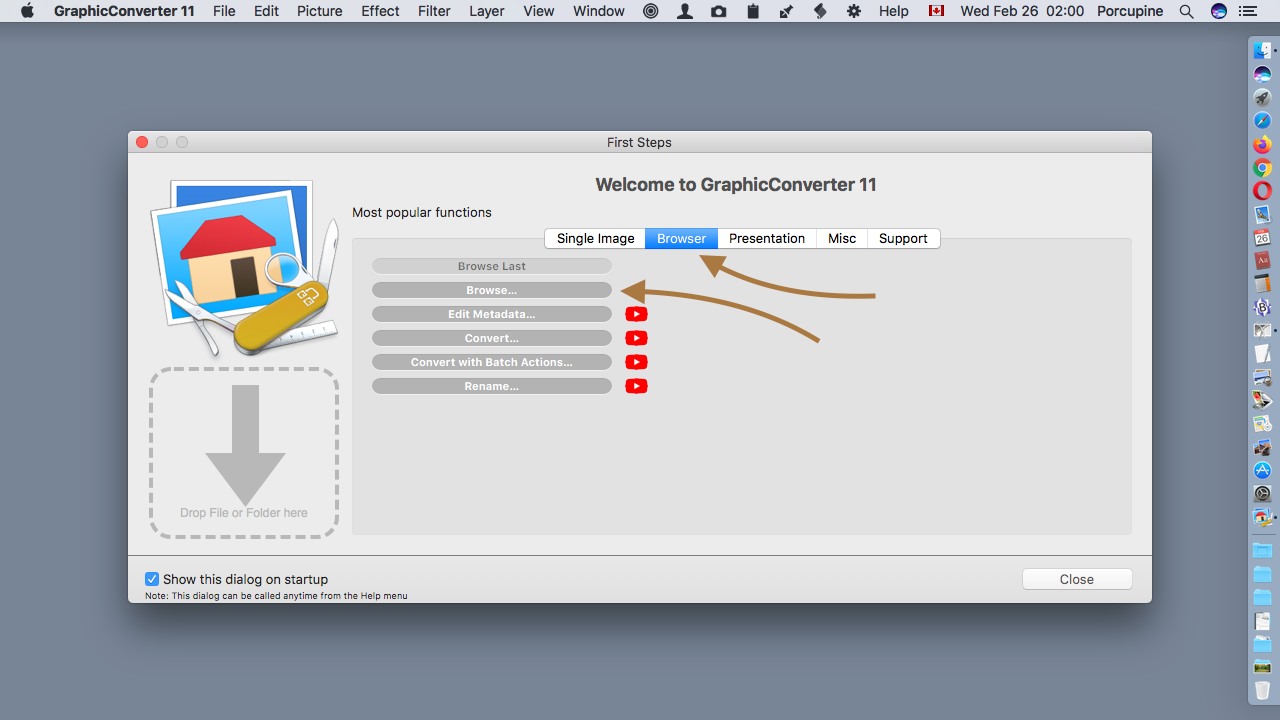
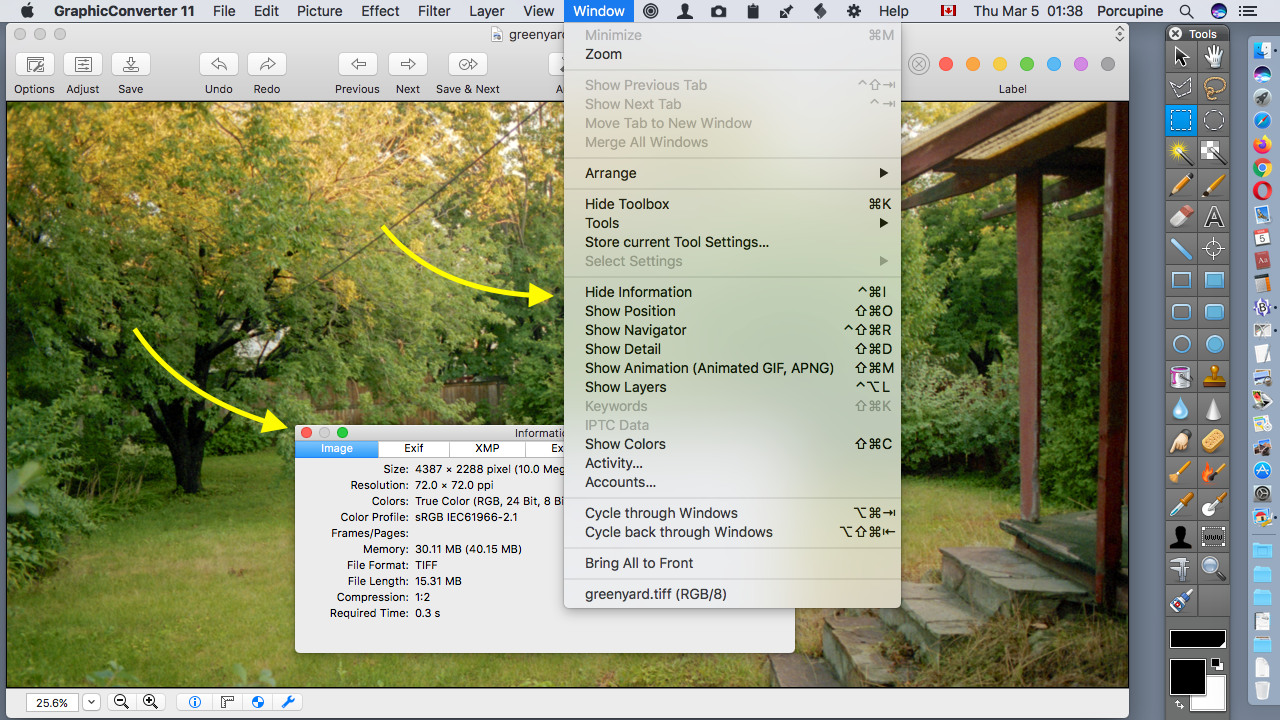
The following are screenshot images I captured of my computer screen as I worked through the process of resizing a digital photograph.


GraphicConverter version 11 application icon
This is what the GraphicConverter version 11 application icon looks like.

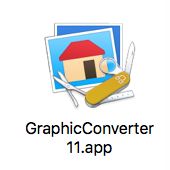
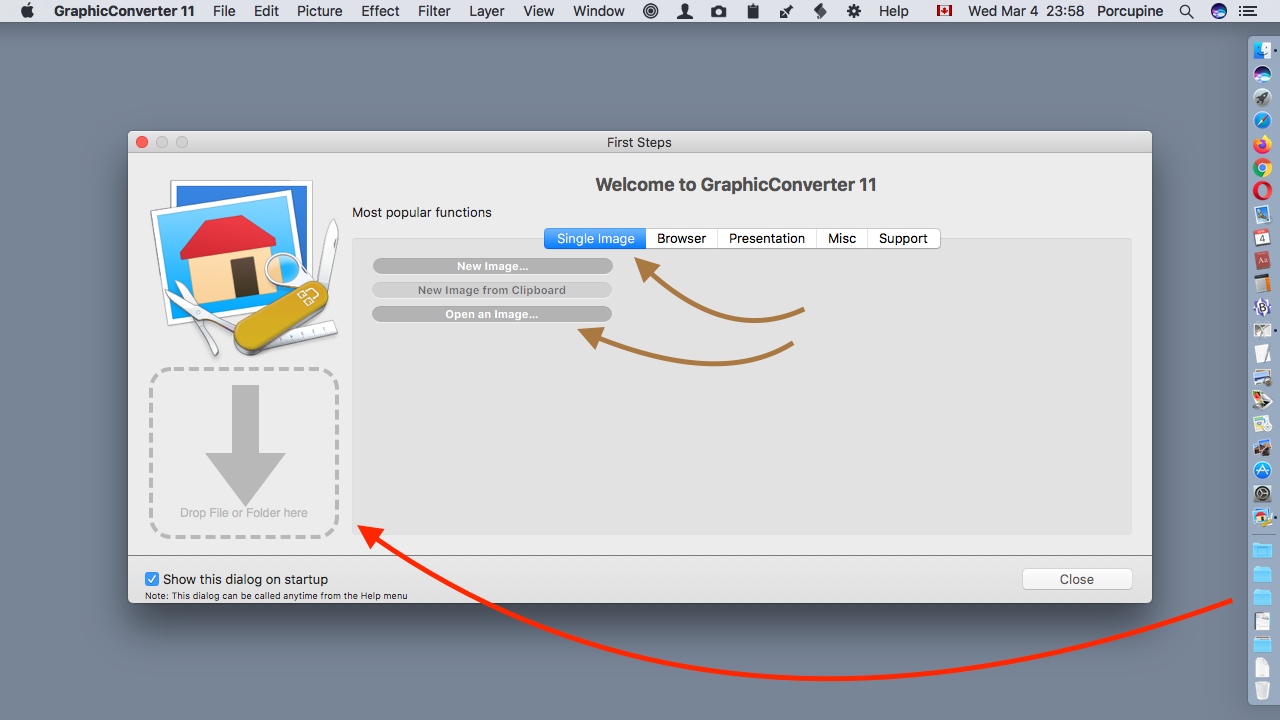
The first step is to start up the GraphicConverter application. There are many different ways you can accomplish this task. You may find the GraphicConverter 11.app icon in the Dock at the bottom or side of your screen. You should find the GraphicConverter 11.app among all your application icons displayed by the Launchpad. Alternatively you can look for the GraphicConverter program in the Applications folder on your hard disk.

Screenshot
Here is the Welcome to GraphicConverter 11 window I saw after starting up the program. The easiest way to open a photograph file or a folder of photograph files is to drag it from your files and folders onto the big grey arrow pointing down. An alternative method is to mouse click on the button Single Image and then on the button Open an Image.
Screenshot
If you mouse click on the Browser button and then on the Browse button you can search through your files and folders for photograph files.
Screenshot
If the Welcome to GraphicConverter 11 window does not appear, or you simply want to bypass it, then you can always go up to the GraphicConverter 11 menu across the top of the screen. In the File menu select Open or Browse.
Screenshot
I know there are other ways to startup the GraphicConverter program and open a photograph file but I think I have given you enough options for this lesson. At some point in the process you are probably going to search through the files and folders of your computer account to find the photograph that you want to resize.
Screenshot
Here is my photograph that I want to resize. It is a picture of the backyard behind an old house. The Information window is providing technical information about the photograph.
Screenshot
You can close the Information window. The simple way is to mouse click the red dot at the left end of the title bar across the top of the window. The toggle on and off command to Hide Information window or Show Information window is in the Window menu across the top of the screen.
Screenshot
In the Picture menu across the top of the screen is the option Size. It opens up a huge menu of ways we can crop the photograph or scale the photograph to change its size. We will focus on the two main items: Canvas Size and Scale.
Screenshot
Here is the Canvas Size window. Seeing that box of 9 squares in a 3 by 3 grid alerts me that this is a method to crop images to precise pixel measurements. That is not what I want to do in this lesson so I mouse clicked on the Cancel button.
Screenshot
Here is the Scale window. Notice that there are checkmarks in front of Proportional and Scale Picture. Notice that there is a funny looking symbol connecting the Width and Height lines. Those are hints that we have found the right place to proportionally resize our photograph smaller without changing its shape.
Screenshot
When doing some research I found that 1024 pixels along the longest edge is often recommended as a good size for photographs that will be displayed on computer screens or the Internet. ( Computers love photograph dimensions that are multiples of eight. 1024 = 8 x 8 x 8 x 2 )

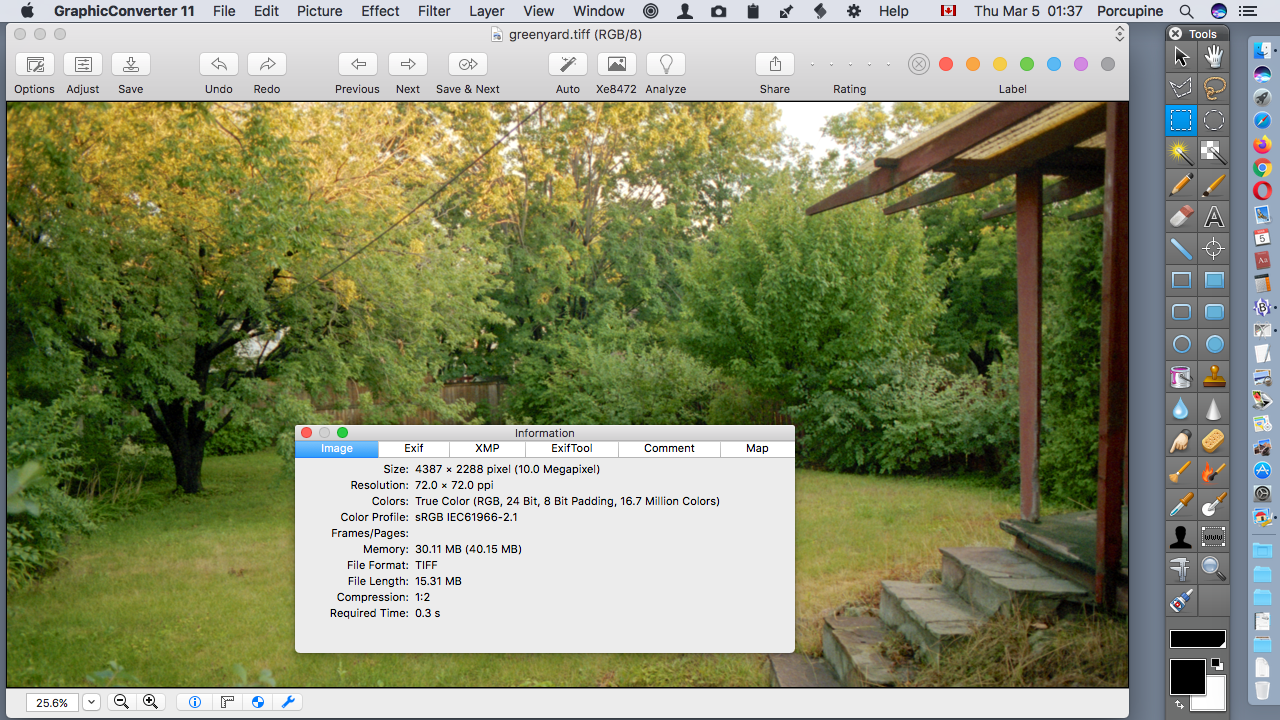
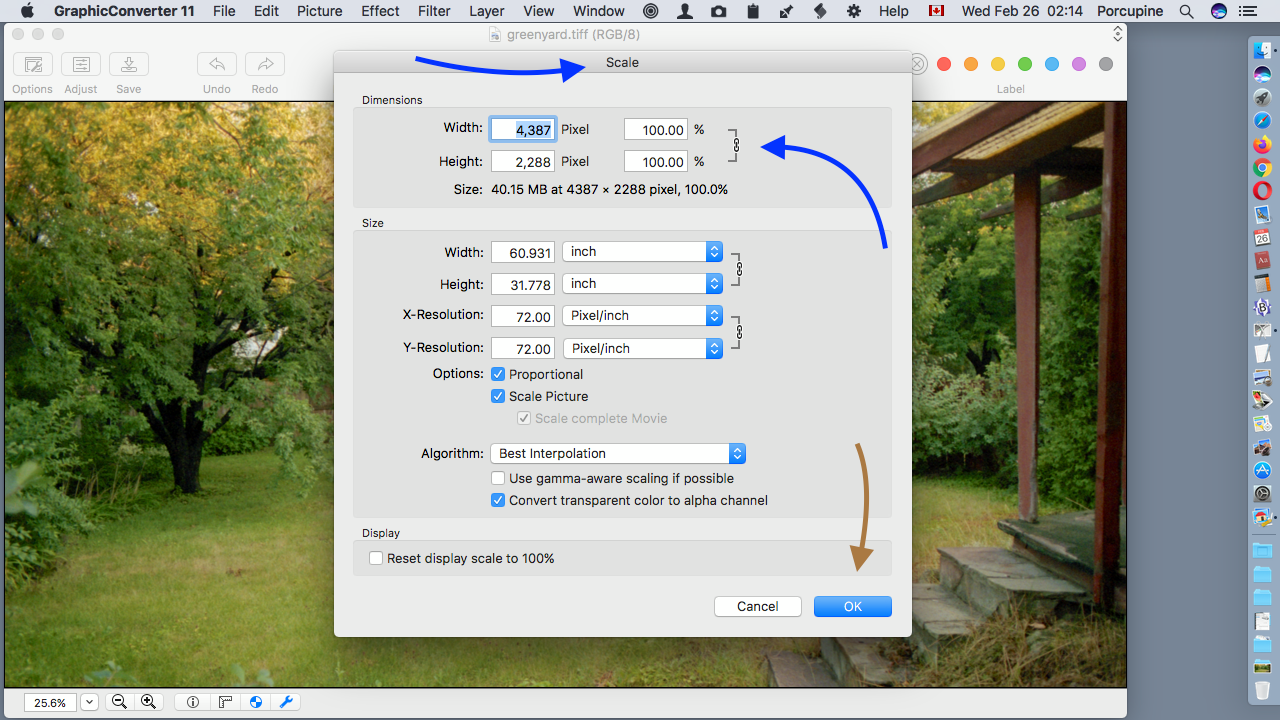
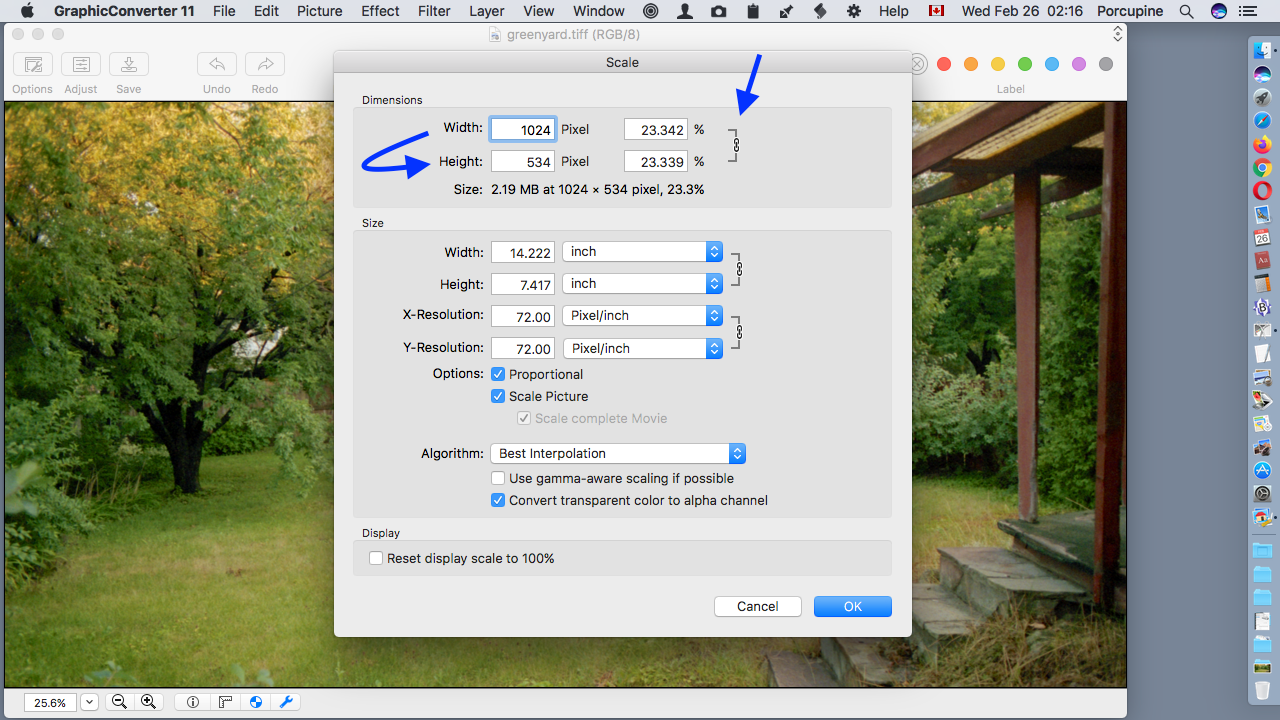
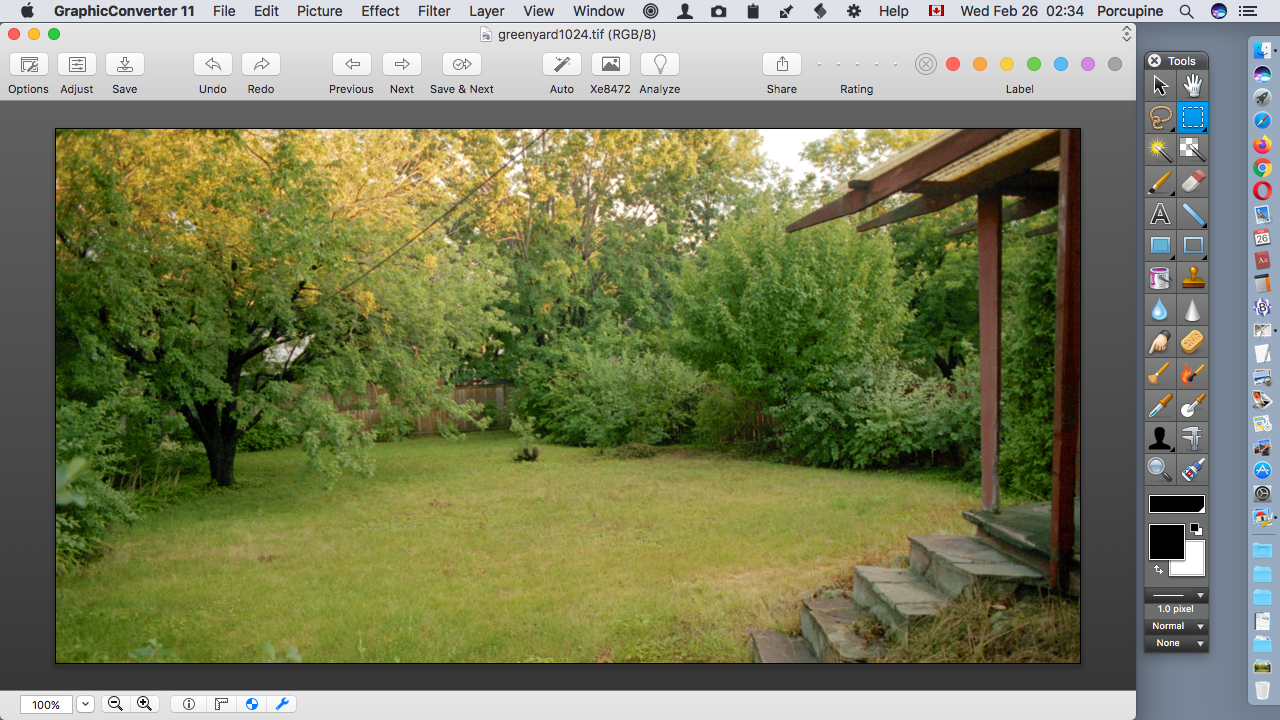
Since Width is the longest side I have changed it to 1024 pixels. The GraphicConverter application automatically changes the Height measurement.

Screenshot
Oh no my photograph has shrunk! Which is exactly what I wanted it to do. It is still being displayed at 25.6% zoom.
Screenshot
Here is the menu that popped up when I mouse clicked the little arrow beside 25.6% .
Screenshot
Through experimentation I discovered that 100% display zoom would fit in the space available on my screen.
Screenshot
Now that I have my resized photograph I need to save it. In the File menu across the top of the screen I found a few options including Save As and Save for Web. For this lesson I will just focus on Save As.
Screenshot
Here is the Save As window. I have changed the filename by adding the number 1024. The file type is JPEG. Notice the Option button beside the file type.
Screenshot
Here are the Options available for the JPEG file type.
Screenshot
Here are the different file types that are available for the Save As window.
Screenshot
I have changed the file type to TIFF. Notice that TIFF also has an Options button.
Screenshot
Here are the Options available for the TIFF file type.
Screenshot
Here is my resized photograph after I saved it.
Screenshot
Here is the final screenshot of this lesson. It shows the pixel dimensions of my original photograph file and the pixel dimensions of my resized photograph file after using the GraphicConverter application.