

Some pages of this website may contain advertising and cookies.
Some pages of this website may contain advertising and cookies.
=== by Bob Sutherland ===
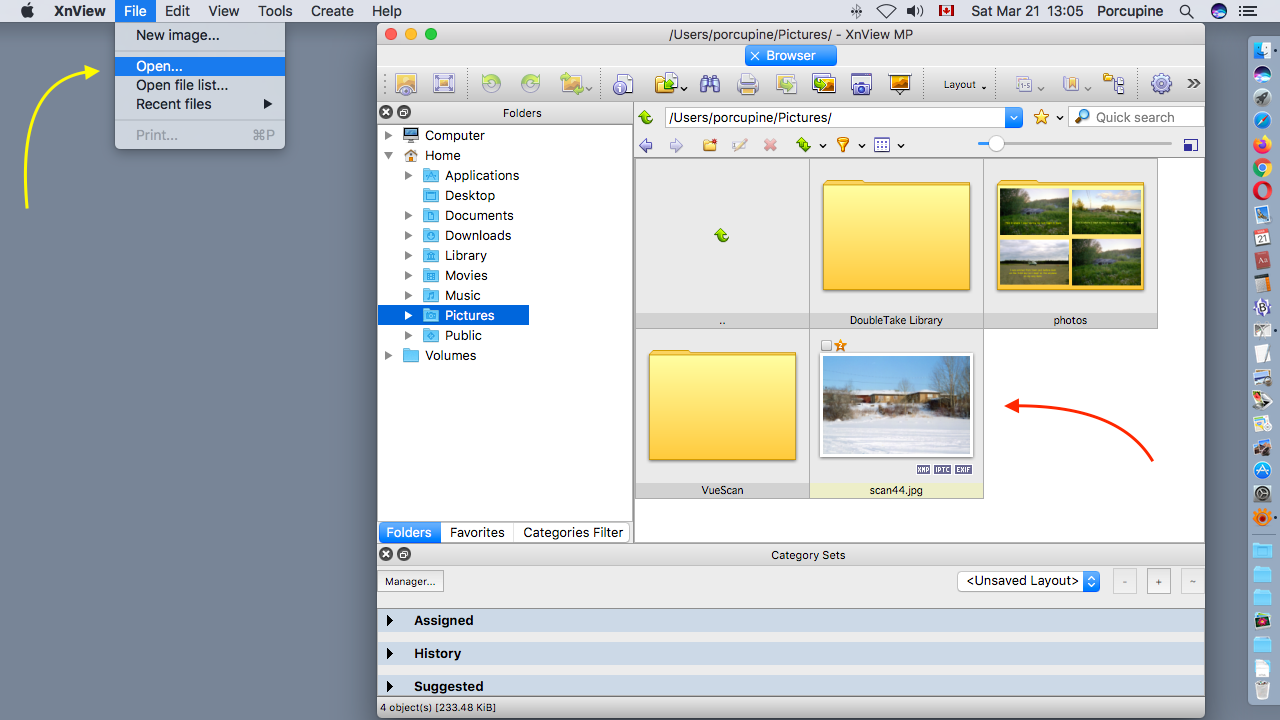
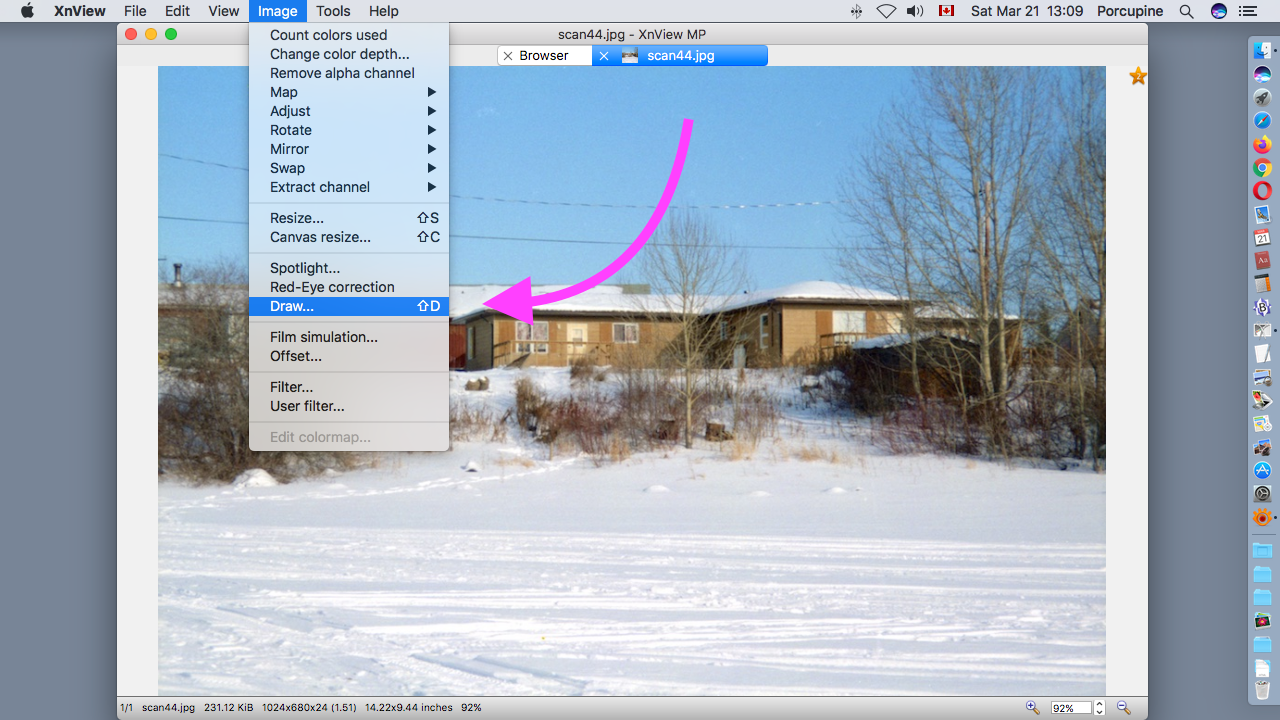
A lesson on how to draw shapes and type text on a photograph using XnView MP software by XnSoft for Windows, Macintosh and Linux computers.
I have already created a lesson on this website that shows you how to resize a digital photograph using XnView MP software. The lesson included instructions on how to open a photograph file with the software and how to save the photograph creating a new file after you resized it. I will presume you have already learned the content of that lesson. In this lesson I will focus on providing instructions on how to draw and type on photographs.
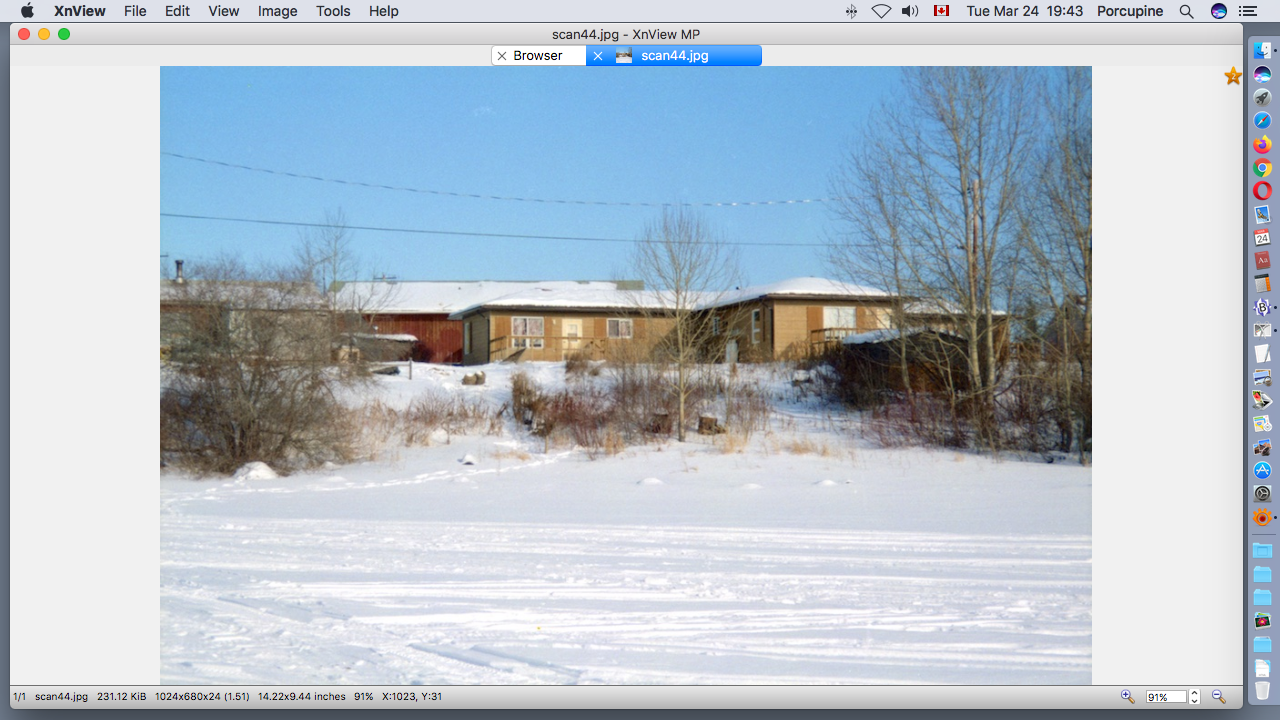
I would recommend you resize your photograph to the final size you want it to be before you start drawing or typing. Otherwise if you resize it latter you may be surprised at how small your drawings and typing become as the photograph shrinks down in size.
I would strongly recommend you make copies of your photograph and only use one of the copies. Assume that the file you open and begin drawing and typing on will be altered even though it may be your intention to save your final masterpiece using a totally different filename and file type.
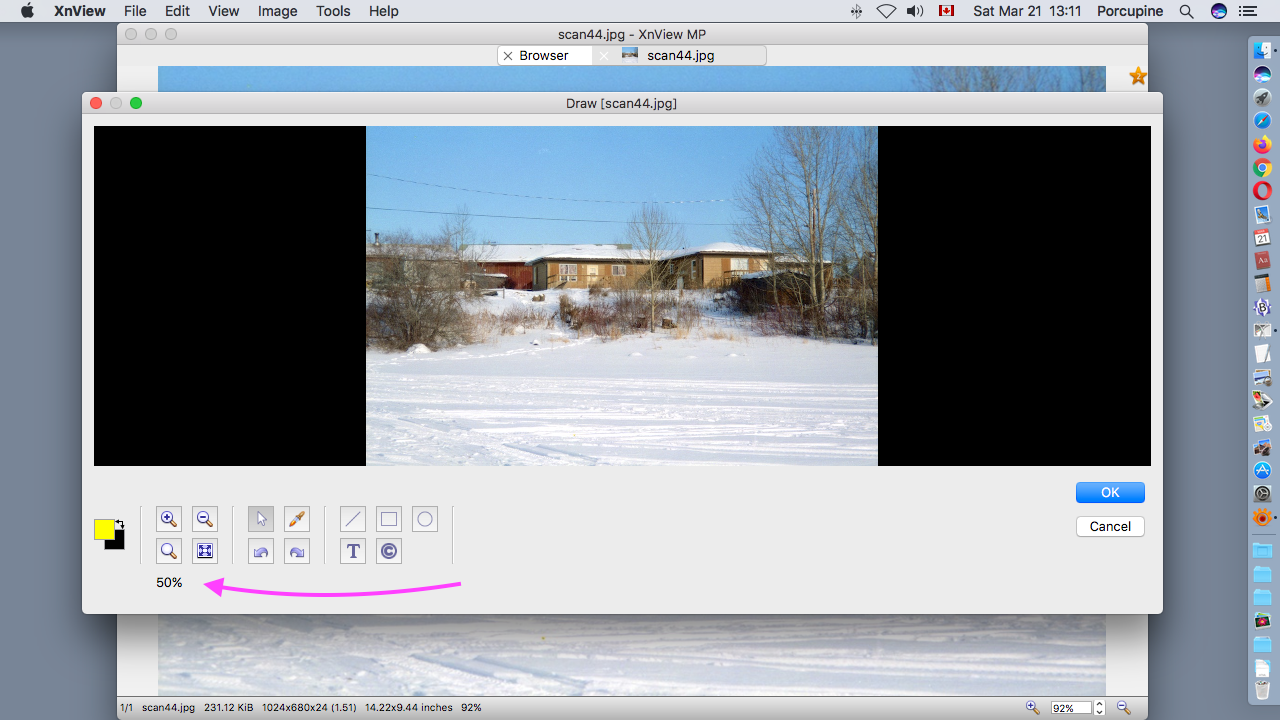
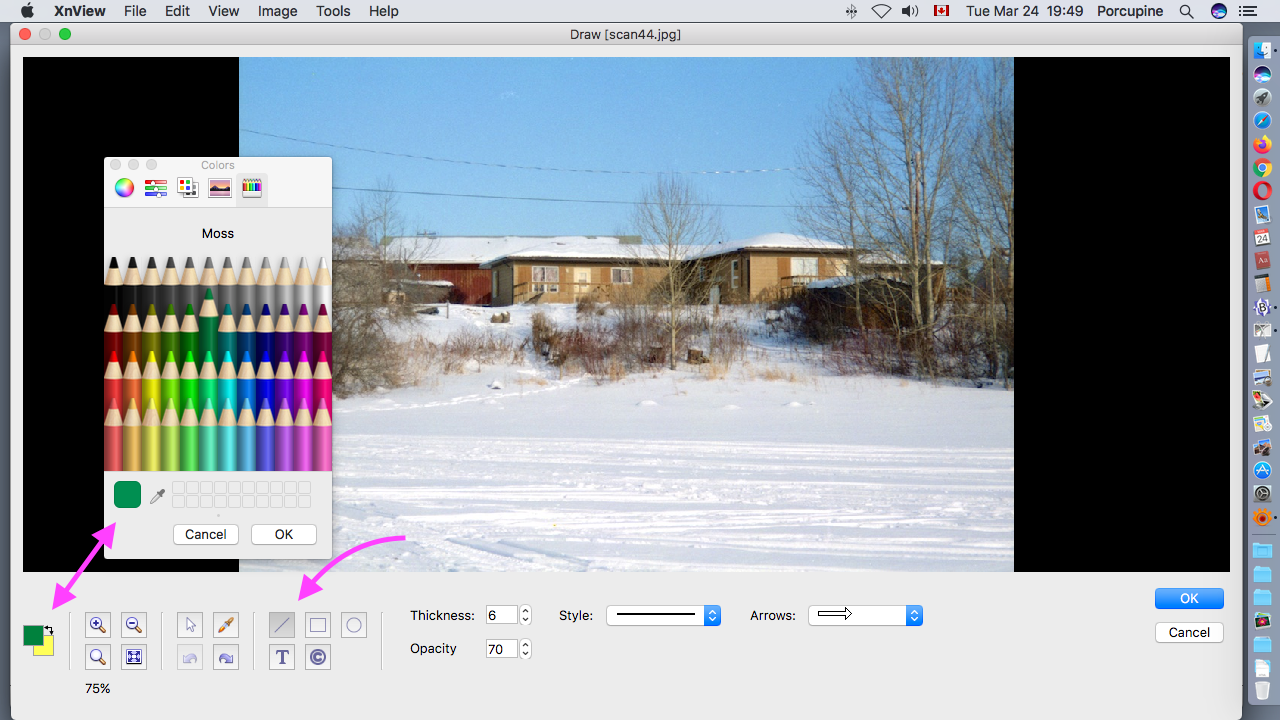
Over on the far left you can choose the colours for any shape you draw. In this screenshot the colour icon is shown as a green square overlapping a yellow square. Mouse clicking on the little black arrow in the top right corner of the colour icon will cause the green and yellow colours to switch positions. The green square is in front of the yellow square and that means it is the foreground colour. Lines and arrows are drawn using the foreground colour. The borders around rectangles and oval shapes are drawn using the foreground colour. Text is typed using the foreground colour. The yellow square is behind the green square and that means it is the background or fill colour. The centre of rectangles and ovals are filled with the fill colour.
Mouse clicking on the green square will cause a standard Macintosh colour chart to appear where you can choose your foreground colour. There are icons across the top of the colour chart where you can choose whether you want to see a colour wheel, sliders, a long list of colours, rainbow spectrum or this display of pencil crayons when choosing a foreground colour. Mouse clicking on the yellow square will again display this Macintosh colour chart so that you can choose your background or fill colour.
There is an eye dropper icon on the Macintosh colour chart. There is an eye dropper among the XnView drawing icons below the photograph. Mouse clicking on an eye dropper and then mouse clicking on your photograph will let you choose a colour directly from your photograph.
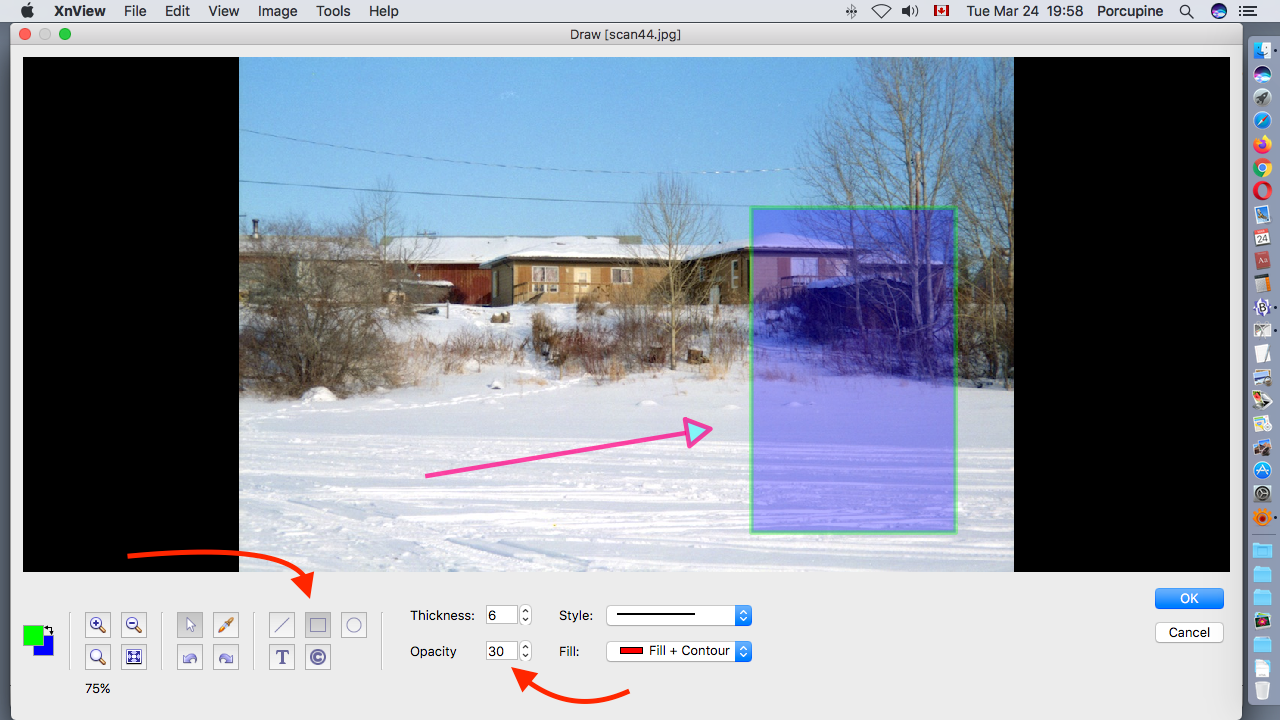
The Opacity setting has a scale of 0 to 100. A setting of zero draws an invisible rectangle. A setting of 100 draws a solid rectangle with no transparency. Here I have drawn a rectangle with an Opacity setting of 30 which has the transparency of coloured glass allowing you to see the photograph behind the rectangle.
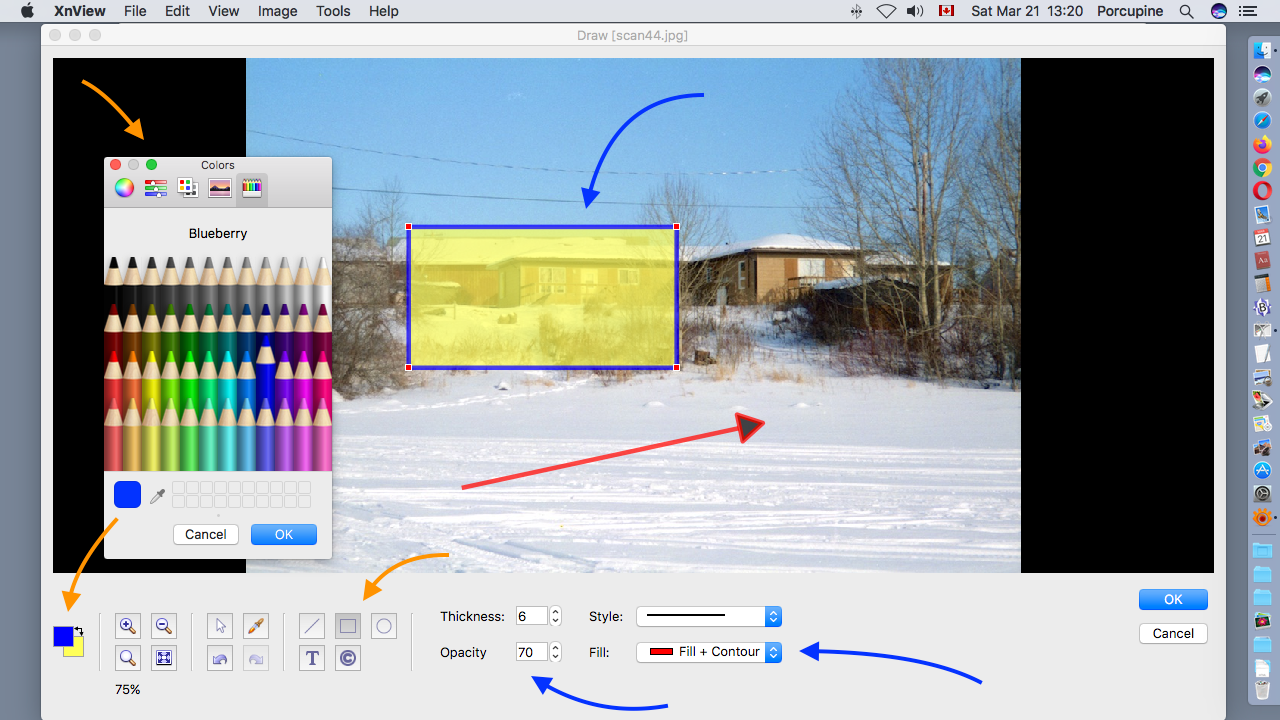
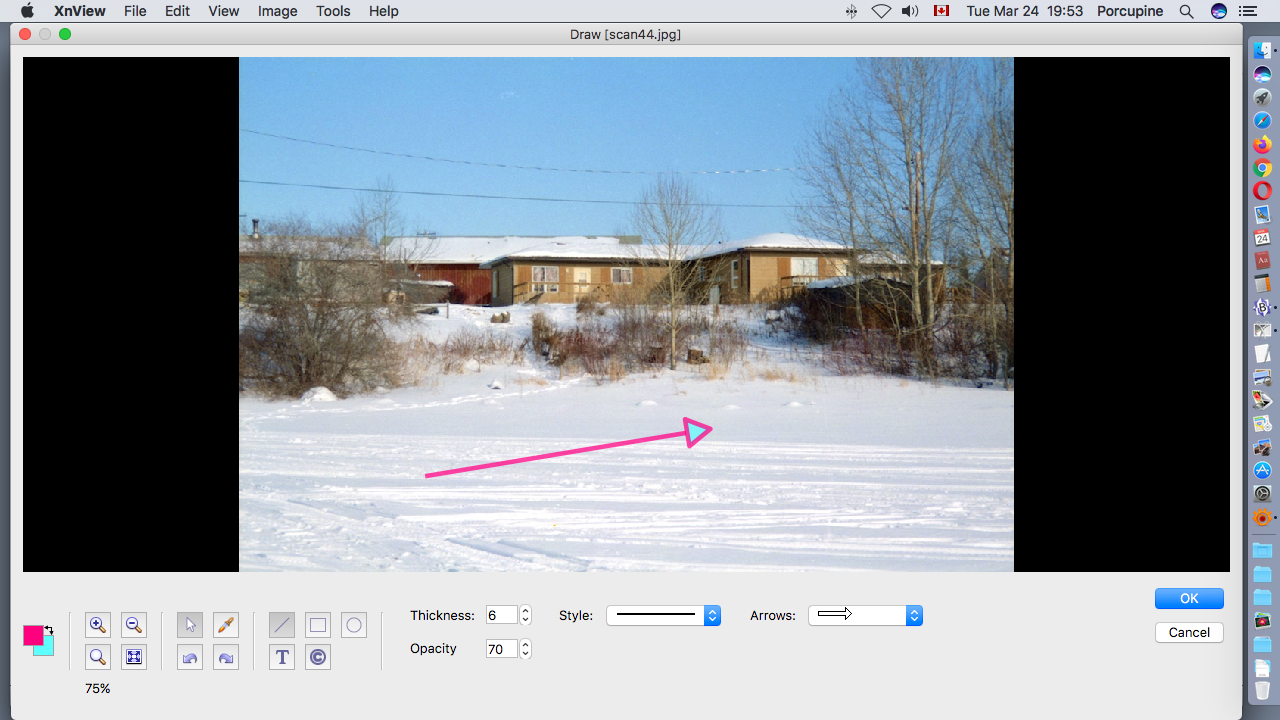
The red square handles show which drawing shape is the active drawing shape that the menu settings below the photograph apply to. Only one drawing shape can be active. A line or arrow will have two handles (one at each end) while a rectangle and oval have four handles. You can use your mouse to drag the centre of your shape across the screen to reposition it when the handles are visible. You can grab one of the handles with your mouse and drag it to change the size and shape of a rectangle or oval. You can grab one of the handles to change the length of a line or arrow and in which direction (angle) the line or arrow is pointing. Mouse clicking anywhere else on the screen will cause the handles to disappear and your shape will become frozen. A frozen line, arrow, rectangle or oval is locked so that you cannot change its settings or position.
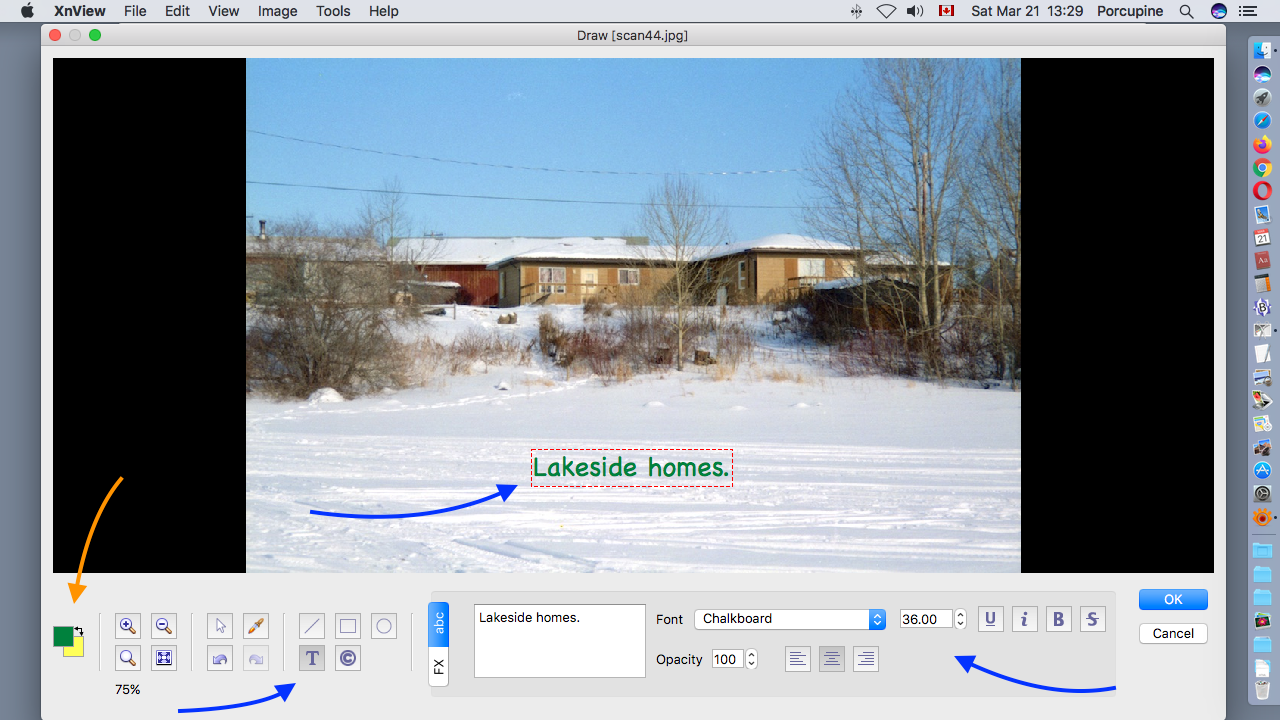
The Font menu displays a long list of all the fonts on my computer. I have chosen the Chalkboard font. The font size is shown here as 36.00 but it can be changed. The next four icons with letters on them are: U = underline, i = italics, B = bold, and S = strike through characters. Opacity is a measure of how transparent you want the letters to be with 100 meaning no transparency. There are three icons for left justify, centre, and right justify.
There is a toggle switch with a choice of FX or abc. In my screenshot "abc" is selected.
At the far left the colour icon displays the foreground colour as green. Therefore any text I type will be green.
There is a relatively big text box in the Draw menu below the photograph where I typed the words "Lakeside homes." This is where you type the words, numbers or other characters that you want to appear on your photograph. If you want the words to be displayed as two or three lines of text on the photograph then type them exactly like that in this text box.
Now comes the tricky part. How to get the text to appear on your photograph with a red dotted box around it? The red dotted box is like the handles for the line, rectangle or oval. When you see the red dotted box you can drag the text around on your screen with your mouse and place it where you want it. When you see the red dotted box you can change many of the word processing options such as font size, bold, italic or left justify. When you DO NOT SEE the red dotted box your text is locked in position and can no longer be moved or modified. It is easy to lock the text in position as almost any mouse click anywhere on the screen will cause the red dotted box to disappear.
Through trial and error I found it easier to mouse click on the empty black space on either side of my photograph and then drag the text that appeared with a red box around it on to my photograph.
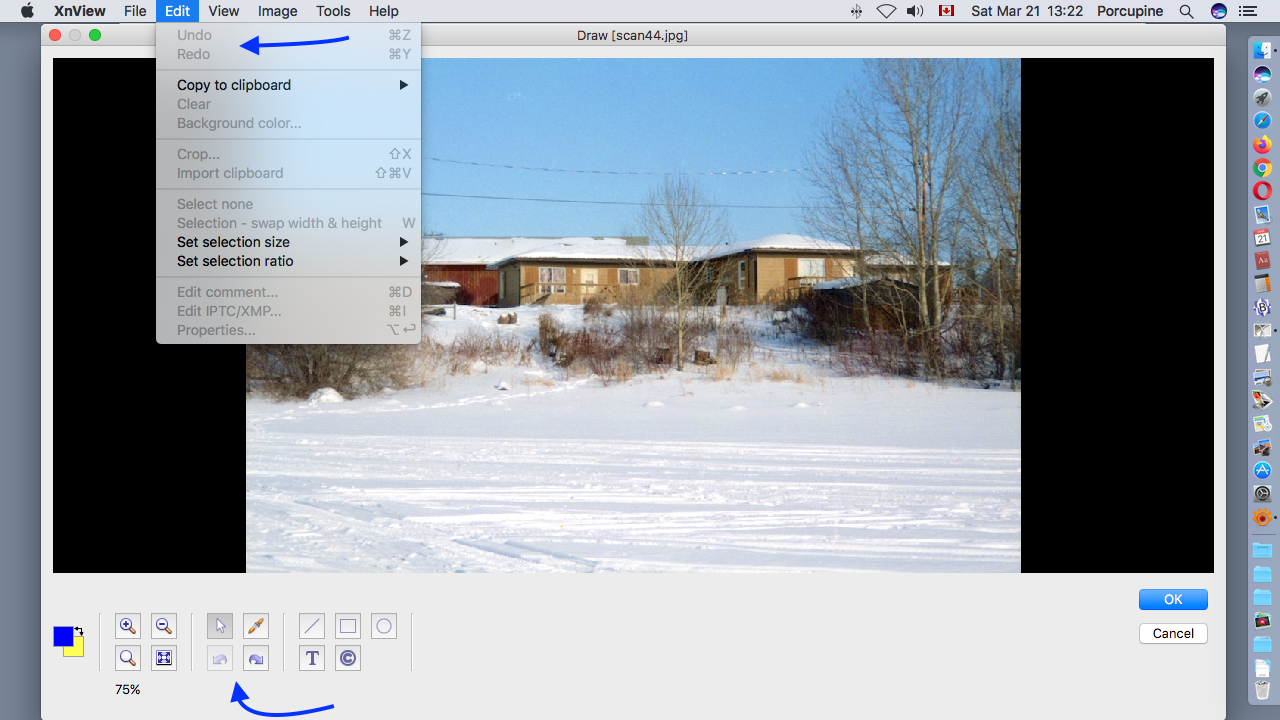
I found myself using the Undo icon many times during my practice runs for creating this lesson because "Lakeside homes." would suddenly appear in the wrong place with no red dotted box around it. Sometimes mouse clicking the Text icon with the capital letter T or the Pointer icon with an arrow on it after the Undo icon would help get rid of unwanted text on my photograph.
Be patient and keep trying!

This screenshot also shows what happens if you select the "FX" end rather than the "abc" end of the toggle switch. You get a different set of word processing options that can be used to modify your text.